Automate Appointment Emails in GHL
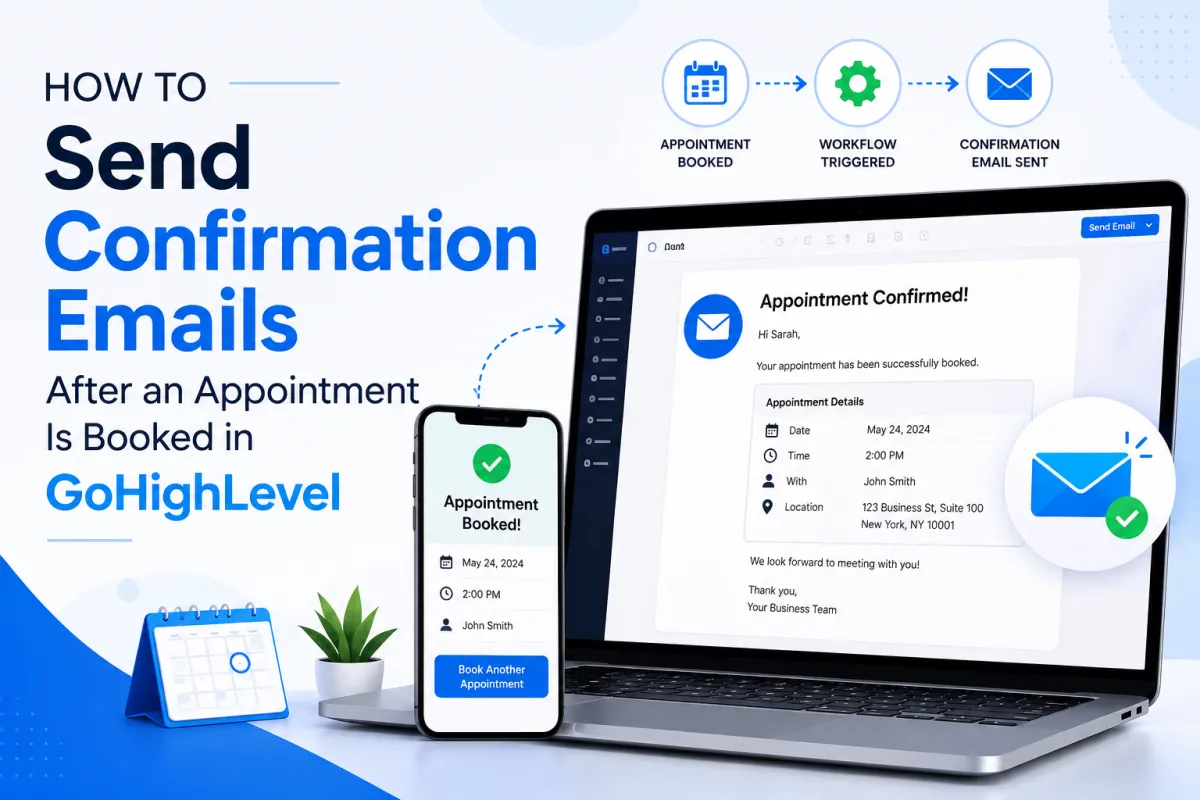
How to Send Confirmation Emails After an Appointment Is Booked in GoHighLevel
Introduction
When someone books an appointment with your business, the next few minutes are crucial. Customers want reassurance that their booking was successful, while businesses need a reliable way to confirm appointments and reduce no-shows.
Instead of manually sending confirmation emails, GoHighLevel allows you to automate the entire process. As soon as a customer books an appointment, a workflow can instantly send a personalized confirmation email containing all the important details.
Whether you're a marketing agency, healthcare provider, consultant, coach, or local service business, appointment confirmation emails improve customer experience and help build trust.
In this guide, you'll learn:
What appointment confirmation emails are
Why they matter
How to automate them using GoHighLevel
Best practices
Common mistakes to avoid
What Are Appointment Confirmation Emails?
Appointment confirmation emails are automated messages sent immediately after someone successfully books an appointment.
These emails reassure customers that their booking has been received and provide essential information such as:
Appointment date
Appointment time
Meeting location
Video meeting link (Zoom or Google Meet)
Business contact details
Preparation instructions
Rescheduling information
Instead of wondering whether the booking was successful, customers receive instant confirmation.
Why Automate Confirmation Emails?
Automating confirmation emails provides several benefits for both businesses and customers.
Instant Customer Confidence
Customers immediately know their appointment has been confirmed.
Reduce No-Shows
People are less likely to forget appointments when they receive confirmation emails.
Save Time
Your team doesn't need to manually send emails after every booking.
Professional Experience
Automated emails make your business appear organized and reliable.
Consistent Communication
Every customer receives the same high-quality confirmation message.
How Appointment Confirmation Automation Works
The workflow is simple.
Step 1: Customer Books an Appointment
A customer books using your:
Calendar booking page
Website
Landing page
Funnel
Embedded booking widget
The booking is instantly added to your GoHighLevel calendar.
Step 2: Appointment Status Trigger Starts the Workflow
The Appointment Status Trigger detects that a new appointment has been booked.
Typically, you'll configure the trigger to run when the appointment status is Confirmed or New, depending on your booking setup.
The trigger acts as the starting point of the workflow.

Step 3: Workflow Sends a Confirmation Email
Once the workflow starts, GoHighLevel automatically sends a confirmation email.
The email can include dynamic information like:
Customer name
Appointment date
Appointment time
Assigned staff member
Meeting location
Calendar details
Custom instructions
No manual work is required.

Step 4: Customer Receives the Email
Within seconds of booking, the customer receives a professional confirmation email in their inbox.
This confirms the appointment and provides all necessary details.
How to Set Up Confirmation Emails in GoHighLevel
Follow these steps to automate appointment confirmation emails.
Step 1: Open Workflows
Go to:
Automation → Workflows
Create a new workflow or edit an existing appointment workflow.
Step 2: Add the Appointment Status Trigger
Choose:
Trigger → Appointment Status
Configure the trigger.
Example settings:
Status = Confirmed
Calendar = Your Booking Calendar
Event Type = Any
Save the trigger.
Step 3: Add Send Email Action
Click the plus (+) button.
Choose:
Send Email
This action sends your confirmation email automatically.
Step 4: Create Your Email
Write a professional email that includes:
Customer name
Appointment confirmation
Date and time
Meeting location
Video meeting link
Contact details
Reschedule instructions
Thank-you message
Use GoHighLevel's custom values to personalize the email.
Example:
Hi {{contact.first_name}},
Thank you for booking with us!
Your appointment is confirmed for:
Date: {{appointment.start_time}}
We look forward to speaking with you.
Step 5: Publish the Workflow
Save the workflow.
Turn it from Draft to Publish.
Now every qualifying appointment will automatically receive a confirmation email.

Best Practices for Confirmation Emails
Personalize Every Email
Include the customer's name and appointment details.
Keep the Subject Line Clear
Examples:
Your Appointment Is Confirmed
Booking Confirmation
We're Looking Forward to Meeting You
Include All Important Information
Never make customers search for:
Time
Date
Location
Meeting link
Contact number
Everything should be in one email.
Add Branding
Include:
Business logo
Company name
Brand colors
Professional email signature
Provide Rescheduling Instructions
Customers appreciate an easy way to reschedule if needed.
Send Immediately
Confirmation emails should be delivered within seconds of booking.
Common Mistakes to Avoid
Using the Wrong Trigger
Ensure you're using the Appointment Status Trigger with the correct status (such as Confirmed) so the email sends at the right time.
Forgetting Dynamic Fields
Double-check custom values like appointment date, time, and customer name before publishing.
Sending Too Much Information
Keep the email concise and focused on appointment details.
Not Testing the Workflow
Always create a test appointment to verify that the email is sent correctly and all personalization fields display as expected.
Forgetting Mobile Users
Most customers read emails on their phones, so use a clean, mobile-friendly email layout.
Real-World Use Cases
Businesses across many industries use automated confirmation emails, including:
Medical and dental clinics
Marketing agencies
Coaches and consultants
Real estate agencies
Fitness centers
Beauty salons
HVAC companies
Legal firms
Financial advisors
Home service businesses
Regardless of the industry, automated confirmations help customers feel informed and prepared.

Conclusion
Appointment confirmation emails are one of the simplest yet most valuable automations you can build in GoHighLevel. By combining the Appointment Status Trigger with the Send Email action, you can instantly reassure customers, provide all the information they need, and create a more professional booking experience.
Once your workflow is published, every new appointment receives a timely confirmation without any manual effort. This saves time, reduces no-shows, and ensures every customer enjoys a smooth experience from the moment they book.
Frequently Asked Questions (FAQs)
1. Can GoHighLevel automatically send confirmation emails after an appointment is booked?
Yes. You can create a workflow using the Appointment Status Trigger and the Send Email action to send confirmation emails automatically.
2. Can I personalize appointment confirmation emails?
Yes. GoHighLevel supports custom values, allowing you to include the customer's name, appointment date, time, meeting location, and more.
3. Can I send both an email and an SMS confirmation?
Absolutely. You can add both Send Email and Send SMS actions in the same workflow.
4. Will the email send immediately after booking?
Yes. Once the trigger conditions are met, the workflow can send the confirmation email within seconds.
5. Should I test the workflow before publishing?
Yes. Always create a test appointment to verify the trigger, email content, and personalization fields before using the workflow for live bookings.
Need Expert Help with GoHighLevel?
New to GoHighLevel and ready to get started? Buy your GoHighLevel account here and launch with confidence.
Already know what you need and want our team to handle everything, from complete setup and customization to funnels, workflows, automations, CRM, and pipelines? Click here.