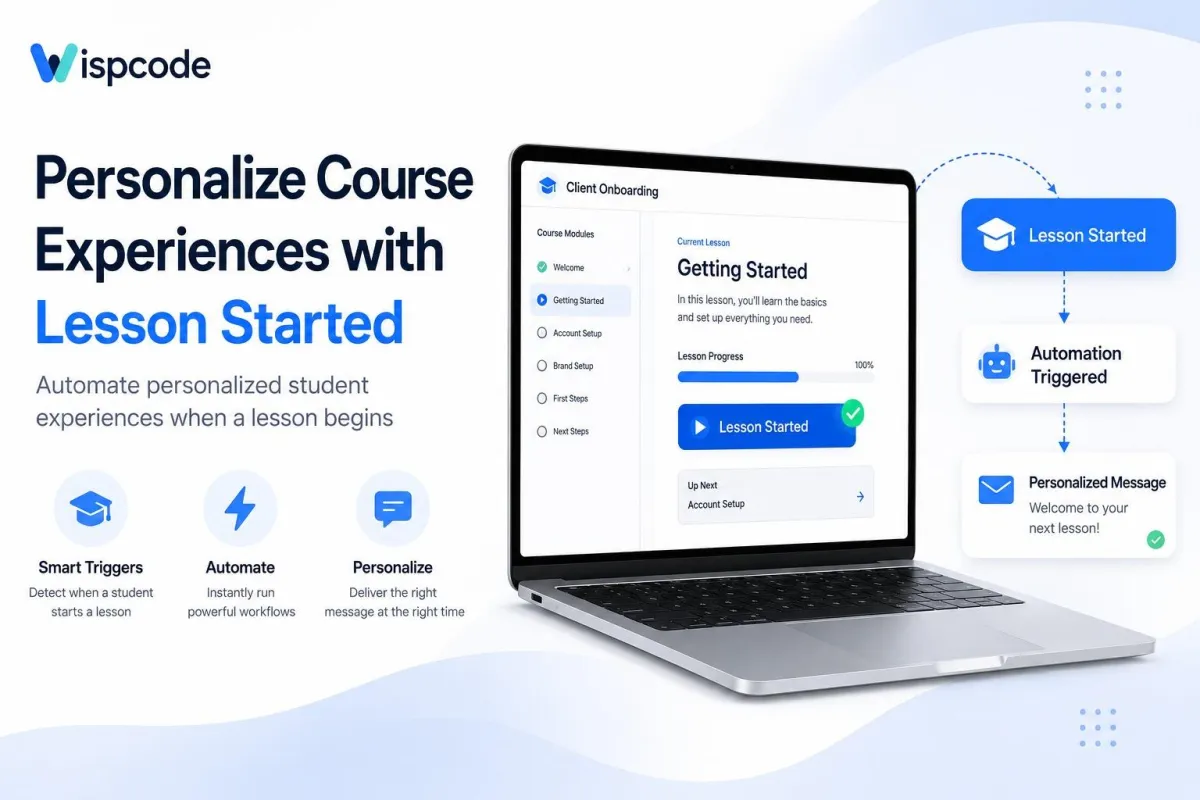
GoHighLevel Lesson Started Trigger: Personalize Courses
How to Personalize Course Experiences When Students Start a Lesson in GoHighLevel
Introduction
Most course platforms treat every student the same way. A learner clicks into a lesson, and nothing happens beyond the video or text loading on the screen. There's no welcome, no guidance, and no signal to the coach or team that someone just began an important step in their journey. This generic experience makes it harder to support students at the exact moment they need it most.
The GoHighLevel Lesson Started trigger solves part of this problem by letting you respond automatically the instant a student opens a lesson. Instead of waiting for a lesson to be finished before you take action, you can meet the student right at the beginning, when guidance and encouragement matter most.
This guide walks through what the Lesson Started trigger does, how it fits into GoHighLevel's course and workflow system, and how to build a simple, personalized automation around it. You'll also see practical examples, testing steps, and mistakes to avoid.
What Is the Lesson Started Trigger in GoHighLevel?
The Lesson Started trigger is a workflow trigger inside GoHighLevel that fires when a contact begins a specific lesson within a GoHighLevel course or membership product. Because course events are built into GoHighLevel's native workflow system, a lesson start isn't just a data point buried in a reporting dashboard. It's an event you can act on directly inside a workflow.
This is different from a Lesson Completed trigger, which fires only after a student finishes a lesson, or a Course Completed trigger, which fires once an entire course has been finished. The Lesson Started trigger fires earlier in the process, right when a student clicks into the content. That timing makes it useful for real-time guidance rather than after-the-fact congratulations.
For course creators, coaches, and agencies managing client courses, this trigger opens the door to automation that supports students during the learning process instead of only recognizing them once they're done.
Why Personalize the Student Experience?
When a student starts a lesson, they're often looking for context: what this lesson covers, how long it takes, or what to do if they get stuck. Left without support, students can feel lost, skip ahead, or abandon the course entirely.
Responding at the moment a lesson begins allows a business to:
Provide relevant guidance tied to that specific lesson.
Deliver helpful resources, such as a worksheet or reference link.
Send timely communication instead of a generic bulk email.
Support students at different stages of a course.
Keep the overall learning journey organized behind the scenes.
Reduce the amount of manual follow-up a coach or team member has to do.
It's worth being careful here. There is no reliable, general evidence that lesson-start messages automatically increase completion rates for every course, since that depends heavily on the content and the audience. What automation reliably does is remove manual, repetitive work and make sure a consistent response happens every time, which frees people up to focus on higher-value support.
How to Set Up the Lesson Started Trigger
Setting up this trigger follows the same basic pattern as any other GoHighLevel workflow.
Open GoHighLevel
Go to the sub-account that hosts the course. This ensures the workflow is built in the same location as the course content.
Navigate to Automations and select Workflows
This is where all trigger-based automations are created and managed.

Create a new workflow
Starting fresh keeps the logic simple and easier to test later.

Added the trigger
Add a trigger, then search for the Lesson Started trigger (it will appear under the course or membership-related trigger category). Selecting the right trigger category avoids confusing it with Lesson Completed.

Configure the trigger settings
Configure the trigger settings, such as selecting the specific course and lesson you want the trigger tied to, if that filtering option is available in your account. Accurate configuration here determines which students actually enter the workflow.

Save the trigger
Save the trigger once it's configured correctly. Saving locks in the trigger settings before you move on to actions.
Add workflow actions
Underneath the trigger, define what happens next. This is where the actual personalization and communication get built.
Menu names and available filters can vary slightly depending on your GoHighLevel plan, account configuration, and rollout version, so it's worth double-checking your own workflow builder rather than assuming every option described here will look identical.
Build a Personalized Student Workflow
Once the Lesson Started trigger fires, GoHighLevel gives you access to standard workflow actions to build out the response. Commonly used actions include:
Send Email: deliver a lesson-specific message or resource.
Send communication through other supported channels, such as SMS, where enabled for the sub-account.
Add Tag: label the contact to track their progress in the course.
Update Contact Field: record progress-related information on the contact record.
Send Internal Notification: alert a coach or team member.
Create Task: assign a follow-up task to a staff member.
Wait: add a delay before the next action fires.
It's important not to overstate what's possible here. A workflow doesn't automatically know the content of the lesson unless you build that context in yourself, for example by naming your trigger and workflow clearly per lesson, or by using tags and custom fields you set up in advance. Treat each action as a building block, not a shortcut that reads lesson content for you.

Practical Ways to Personalize the Course Experience
Send a Helpful Lesson Message
When the trigger fires, send an email or text that welcomes the student to that specific lesson and briefly explains what to expect, so they start with context instead of confusion.
Provide Additional Resources
If a lesson benefits from a worksheet, checklist, or reference link, this is a natural moment to send it, right when the student can actually use it.
Notify a Coach or Team Member
Use the Send Internal Notification action to let a coach know a student has entered a lesson that historically needs extra support, so the coach can check in proactively.
Create Follow-Up Automation
Add a Wait step after the initial message, then follow up with a check-in message if the student hasn't progressed. This creates a light structure without overwhelming the student with immediate, repeated contact.
Guide Students Through the Learning Journey
Use tags or contact field updates to track lesson-level progress, which lets later workflows reference where a student currently stands without guessing.
Example: Personalized Lesson-Start Workflow
Here's a simple structure that demonstrates personalization rather than generic automation:
Trigger: Lesson Started (specific lesson selected) ↓ Action: Send Email welcoming the student to that lesson with a short explanation of what it covers ↓ Wait: 2 days ↓ Action: Send a follow-up message checking in and offering a supporting resource ↓ Action: Add Tag to mark the student's current lesson stage
This example is personalized because the message content and timing are tied to a specific lesson and a specific stage in the course, rather than a single generic email sent to every student regardless of where they are.
How to Make Automated Course Messages Feel Personal
Keep every message relevant to the student's current lesson, not the course as a whole.
Avoid sending too many automated touches in a short window.
Give students a clear next step rather than just information.
Use the contact information and fields you actually have. Don't reference data the workflow doesn't collect.
Space messages out with Wait steps so communication feels considered, not automatic.
Keep the tone helpful and instructional rather than promotional.
Test the Lesson Started Workflow
Before turning any workflow live, testing prevents avoidable mistakes.
Confirm the Lesson Started event actually fires the workflow when a test account opens the lesson.
Verify the correct contact enters the workflow and no unrelated contacts are pulled in.
Check every action in the sequence, from emails to tags to notifications.
Confirm the personalization is accurate, including the correct lesson name and the correct content.
Check that Wait steps use the intended delay.
Review the workflow's execution history to confirm each step ran as expected.
Fix any issues you find before publishing the workflow for real students.
Skipping this step is one of the most common ways a well-designed workflow ends up sending the wrong message to the wrong student.

Common Mistakes to Avoid
Confusing Lesson Started with Lesson Completed, which fires at a different point in the process.
Sending too many automated messages in a short period, which can feel intrusive.
Using generic communication that isn't actually tied to the lesson the student just opened.
Assuming lesson-specific data is automatically available in the workflow without you configuring it.
Skipping testing before activating a workflow for real students.
Building an overly complicated workflow with more branches and actions than the course actually needs.
Focusing only on a single lesson trigger without considering how it fits into the student's overall course journey.
Frequently Asked Questions
What does the Lesson Started trigger do in GoHighLevel?
It starts a workflow the moment a contact begins a specific lesson inside a GoHighLevel course or membership. This lets you respond in real time with communication, internal notifications, or contact updates instead of waiting until the lesson or course is finished.
How do I create a workflow when a student starts a lesson?
Go to Automations, open Workflows, create or edit a workflow, and add the Lesson Started trigger. Configure the relevant lesson if filtering is available, save the trigger, then add the actions you want to run afterward, such as sending an email or notifying a coach.
Can I send an automated message when a student starts a lesson?
Yes. After the Lesson Started trigger fires, you can add a Send Email or other supported communication action to deliver a welcome message, resource link, or instructions relevant to that lesson.
Can the Lesson Started trigger be used for student onboarding?
It can support onboarding when a student's first lesson doubles as an entry point into the course, since the trigger can fire a welcome sequence at that moment. It works best alongside other onboarding steps rather than as the only onboarding mechanism.
What is the difference between Lesson Started and Lesson Completed?
Lesson Started fires when a student begins a lesson, making it useful for real-time guidance. Lesson Completed fires only after the lesson is finished, making it better suited for milestone recognition, progress tracking, or moving a student toward the next step.
Conclusion
The Lesson Started trigger gives course creators, coaches, and agencies a practical way to respond the moment a student begins a lesson, rather than only after they finish one. By pairing this trigger with simple, well-timed actions, such as a welcome message, a helpful resource, an internal notification, or a tag update, you can build a course experience that feels personal without adding manual work to your day.
Start with one lesson and one simple workflow before expanding to your full course. Test it thoroughly, confirm the right contacts and messages are triggering correctly, and only then activate it for real students. A small, well-tested lesson-start automation is far more valuable than a complicated one that hasn't been checked.
If you're ready to make your GoHighLevel course feel more responsive, open your Workflows section today and build your first Lesson Started automation.
Need Expert Help with GoHighLevel?
New to GoHighLevel and ready to get started? Buy your GoHighLevel account here and launch with confidence.
Already know what you need and want our team to handle everything, from complete setup and customization to funnels, workflows, automations, CRM, and pipelines? Click here.